
In this blog post, I am just going to share some tips and tricks on how I create resources for my TpT! Hopefully, you have read my previous blog post on how to get started with selling on TpT. If you haven’t, I suggest checking that one out first.
1. Brainstorming
- Think of resources you need in your classroom
- Look for a hole in the market (search TpT)
- Look at your favourite clipart artists – what do they have for free? Can you create anything using those items?
- Seasonal and holiday resources.

2. Invest in clipart and fonts
- Once you have decided on a product, it is time to purchase some clipart and fonts. This can be a significant investment, but trust me; it is worth it. Having nice fonts can make a resource stand out. I waited too long before investing in fonts, which shows in my older resources. There are tons of free clip art and fonts available on TpT to get you started; make sure you can use them in commercial products. If possible, wait for a sitewide sale to purchase items, and you will save 25%! TpT typically has four sales a year; February, May, August and November.
3. Creating your products
- This is a tricky one because everyone has a personal preference. Many sellers like to use Adobe and Google slides, but I prefer PowerPoint. I find it easy to manipulate items and is extremely user-friendly. If you are creating whole-page resources, task cards, flip books or games, create the perfect template with your watermark and proper sizing and SAVE it as a template! This will save you time in the future!
4. Test your products
- Before posting your resource to your TpT store, please test it out. Use it in your classroom or with your children. Print it and create it. Make sure it works! Trust me; you can’t delete a bad rating/review; people will read them and look at your overall rating before purchasing an item.
5. Create a cover and TOU (Terms of Use)
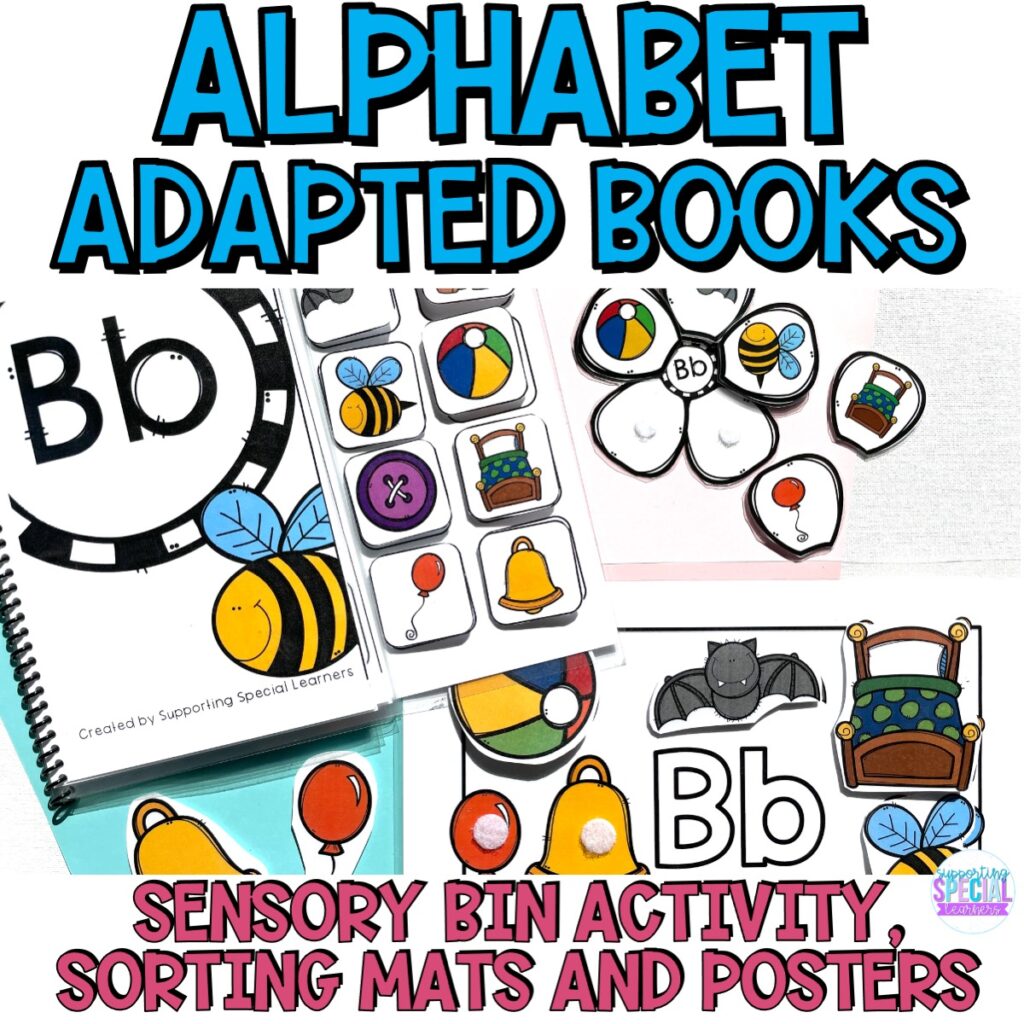
- Creating an eye-catching cover is so important. It is the first thing your potential buyer sees and therefore needs to be clear and consistent and show off your resource. I have redone many of my covers numerous times because my style has changed, and I am always learning new tricks!
- Here are my main tips;
- Clear large fonts
- Show actual pictures of your resources
- Use your brand colours
- Have your logo somewhere on the cover
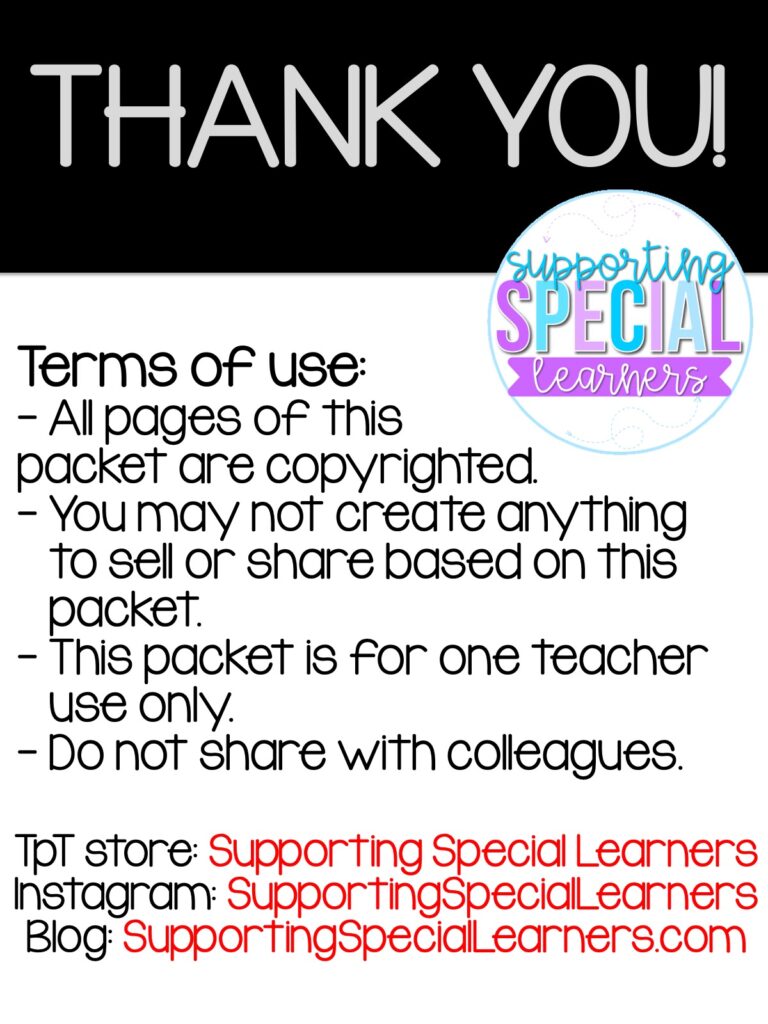
- Terms of Use – make sure to include all of the clipart artists and fonts that you used in the product. You need to make this file a PDF and add links to their stores. You should also link any other platforms you have on here: TpT, Blog, Instagram, Pinterest. On this page, you will also write your terms of use: you can look at other buyers’ TOU to help you write this. I have included a copy of mine below.
I can’t wait for you to start creating! Please comment below or email me ([email protected]) if you have any other questions! I am always happy to help support fellow teachers and creators!